How many spotlights to install per m2?
Good lighting plays a crucial role in interior comfort. Spots provide even and elegant light, but you still need to install the right number. Too few and the room lacks brightness; too many and the lighting becomes harsh. This article guides you on how many spots to install per m², depending on each room and its use.

Why accurately calculate the number of spots per m2?
A good spot number calculation optimizes light distribution in your interior. Too few spots can create uncomfortable shadow areas, while too many lead to energy overconsumption and an overly harsh visual effect. Each room has its particularities, and adapting the number of fixtures to the use, surface area, and ceiling height is essential for functional and aesthetic lighting.
The importance of appropriate lighting
Well-designed lighting improves daily quality of life. Insufficient light tires the eyes, creates a dull environment, and makes certain activities difficult (reading, cooking, makeup...). Conversely, too much light causes a cold and unpleasant atmosphere, not to mention annoying reflections or glare zones. Properly distributing light sources avoids these issues while enhancing the room's decor.

Criteria that influence the number of spots per m²
Several factors determine the number of spots per m2 to install:
- Room size: a large room will obviously require more light points for even coverage.
- Type of activity: the precision required in a kitchen or bathroom implies a higher intensity than in a living room or bedroom.
- Surface color: dark shades absorb light, whereas light walls reflect it. A dark interior will require more spots.
- Ceiling height: the higher the ceiling, the more powerful or multiplied the light must be to properly reach living areas.
How to calculate the number of spots per m2?
Before installing your luminaires, a good recessed spot number calculation is essential to avoid unpleasant surprises. This calculation ensures sufficient brightness in each space while controlling your electricity consumption. It mainly relies on the power of the chosen spots and the surface to be lit.
Simple formula for the number of spots per m²
For even lighting, an average luminous intensity of 300 lumens per m² is recommended in living rooms. However, a standard LED spot generally emits between 300 and 500 lumens. The calculation is therefore simple:
Formula: Room surface area (in m²) × Recommended lumens ÷ Luminous power of a spot (in lumens)
Example for a 20 m² living room with 400-lumen spots each:
20 × 300 ÷ 400 = 15 spots
The result provides a base that you can adjust according to the specific needs of the room. To know the lumen power of a spot, simply consult its product sheet or packaging. This information is essential to properly size your lighting.
Calculation example
You want to light a 10 m² bathroom with a high light requirement (400 lumens/m²), and you have selected 400-lumen LED spots? Here is the spot number calculation to perform:
10 × 400 ÷ 400 = 10 spots
You will therefore need 10 spots for functional and uniform lighting. This type of recessed spot number calculation helps you avoid under- or over-lighting errors and assists you in better positioning your luminaires.
How many spots to install per m2 depending on the room?
The number of spots per m2 varies depending on the room's function, its natural exposure, and your lifestyle habits. A kitchen requires more intense light than a bedroom, while a bathroom demands secure lighting. Here are our recommendations to adapt the lighting to each space.

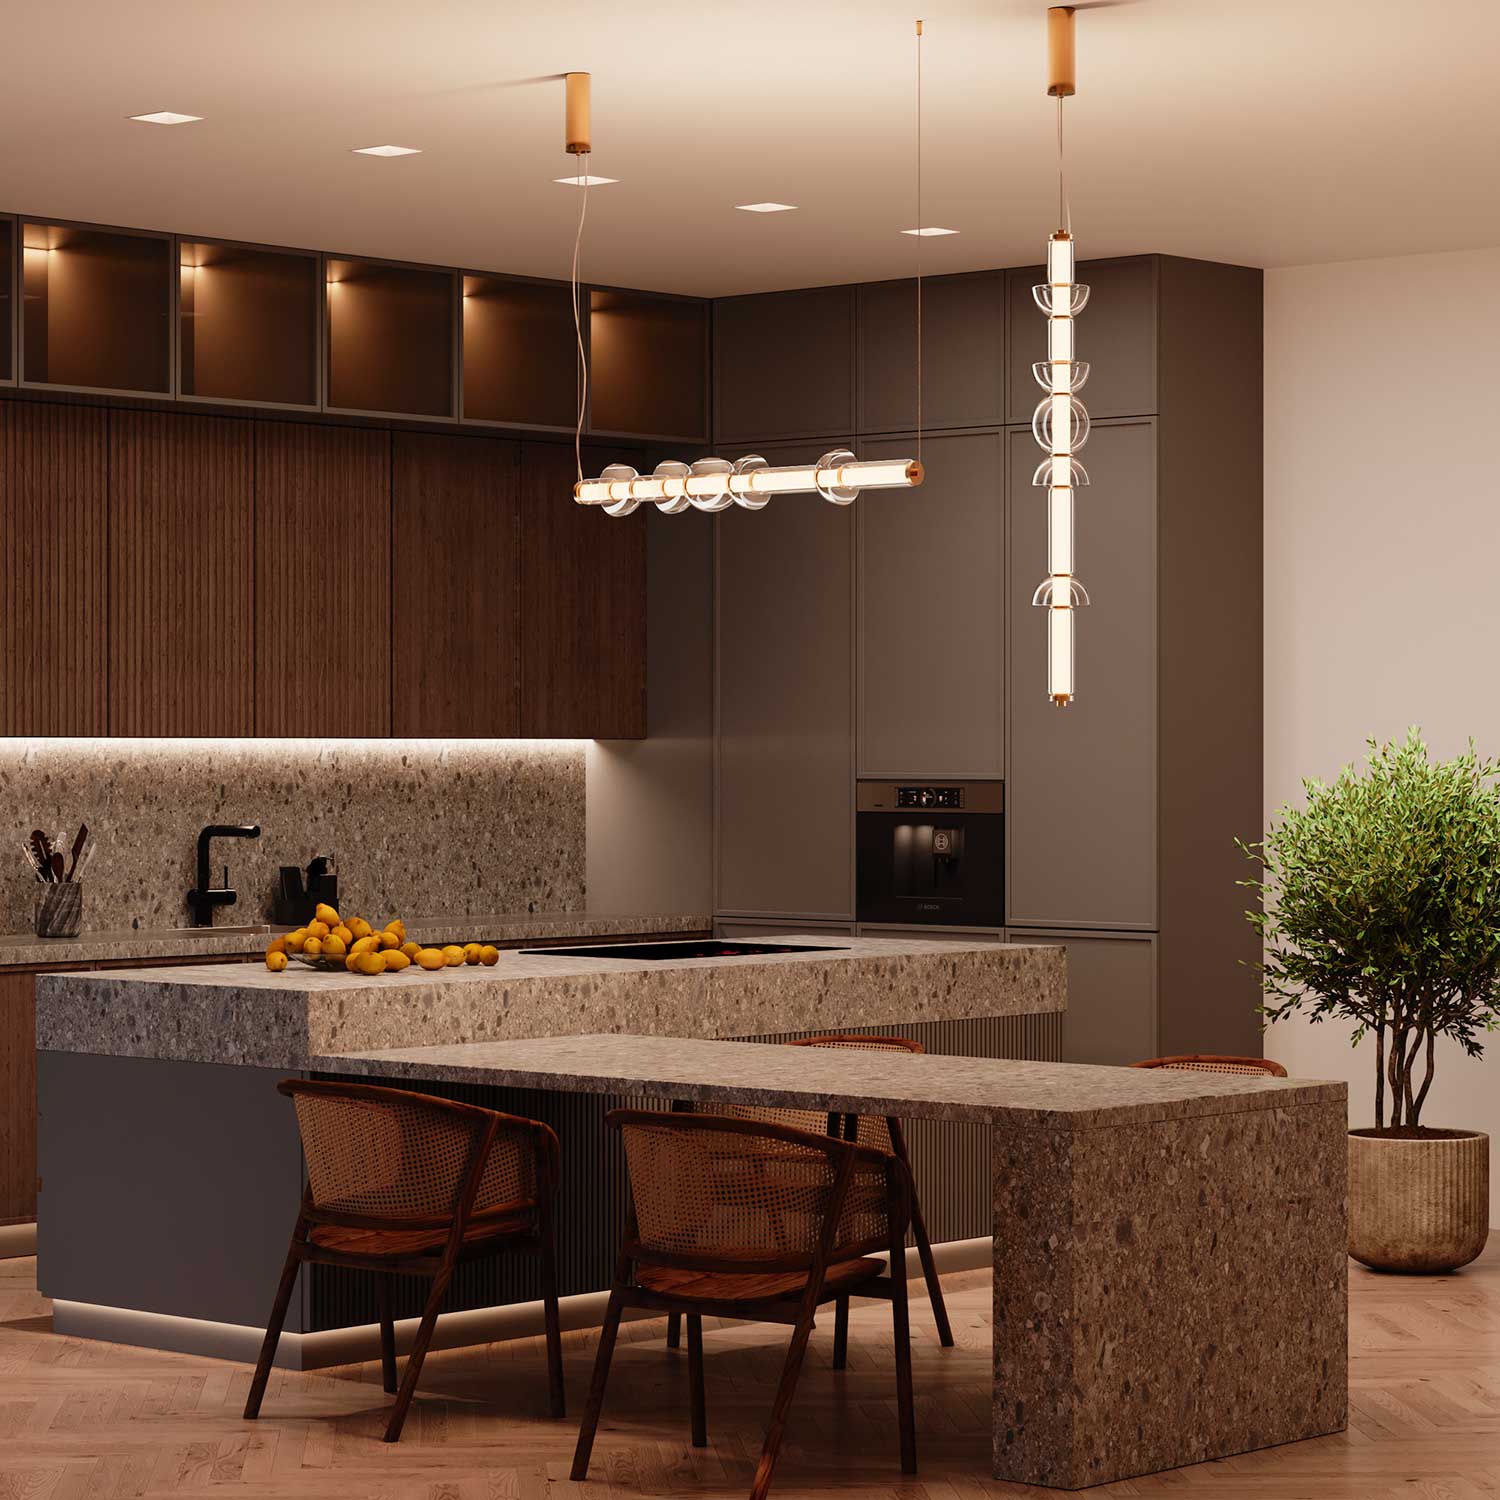
For the kitchen: functional and even lighting
In this technical room, visibility is paramount. We recommend between 300 and 500 lumens/m², which corresponds to approximately how many spots per m2 kitchen: 1 spot for 1 to 1.5 m². Feel free to strengthen the lighting above preparation areas (sink, worktop, cooktop) to avoid annoying shadows. Prefer waterproof and adjustable spots to target the light precisely.
For the living room: adjustable lighting according to the mood
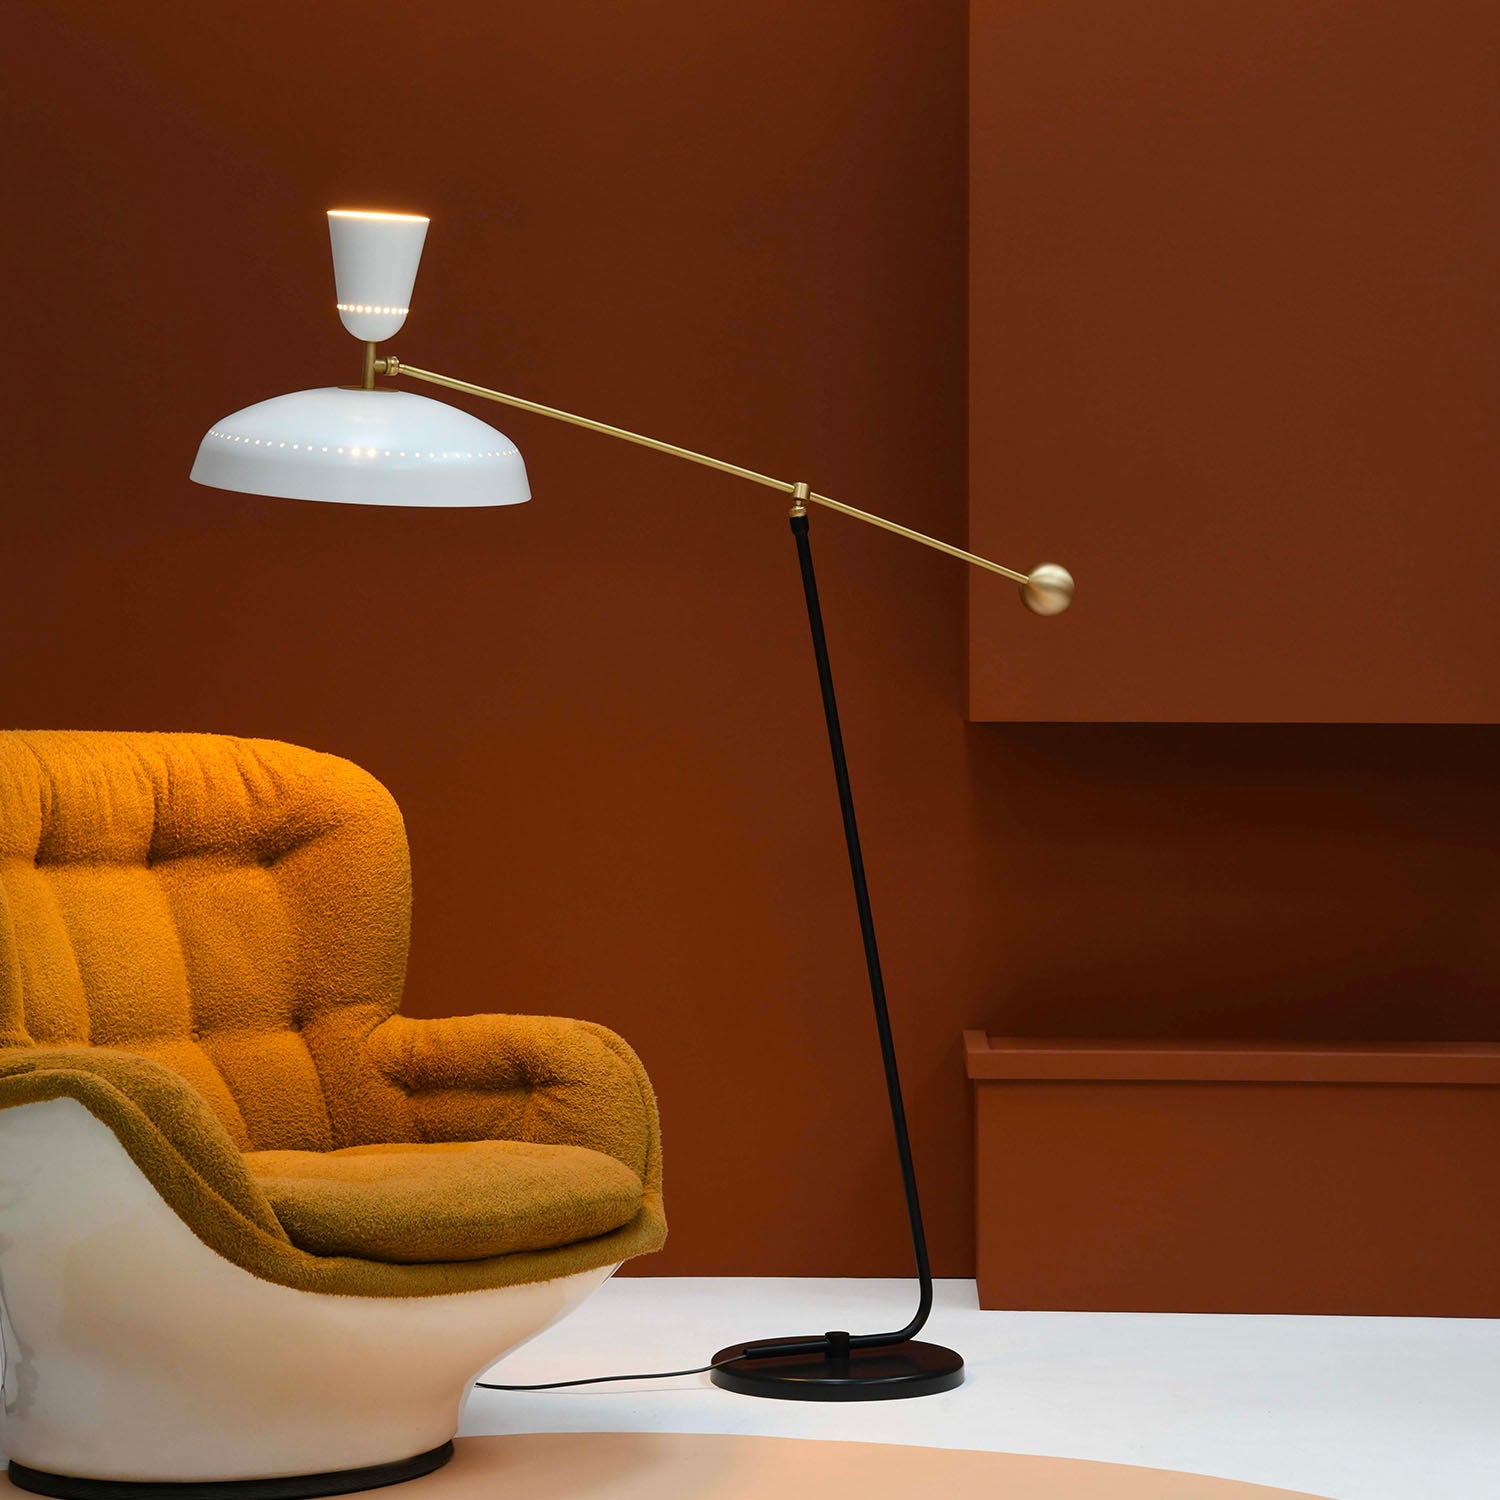
The living room is a versatile living space. It can host moments of relaxation as well as activities requiring good lighting (reading, games, entertaining). A lighting need of 250 to 350 lumens/m² is sufficient, about 1 spotlight for 1.5 to 2 m². Complement the setup with floor lamps, pendants, or wall lights to create a warmer atmosphere. This also helps avoid lighting that is too direct or monotonous.
For the bedroom: soft and restful lighting
In this room dedicated to rest, soft lighting is preferred. On average, 200 to 300 lumens/m² is sufficient, which means how many spotlights per m2 bedroom: 1 spotlight for 2 to 2.5 m². Lighting can be central or distributed around the bed to promote a relaxing atmosphere. Installing a dimmer is highly recommended to adjust the light to your needs: morning wake-up, evening reading, etc.
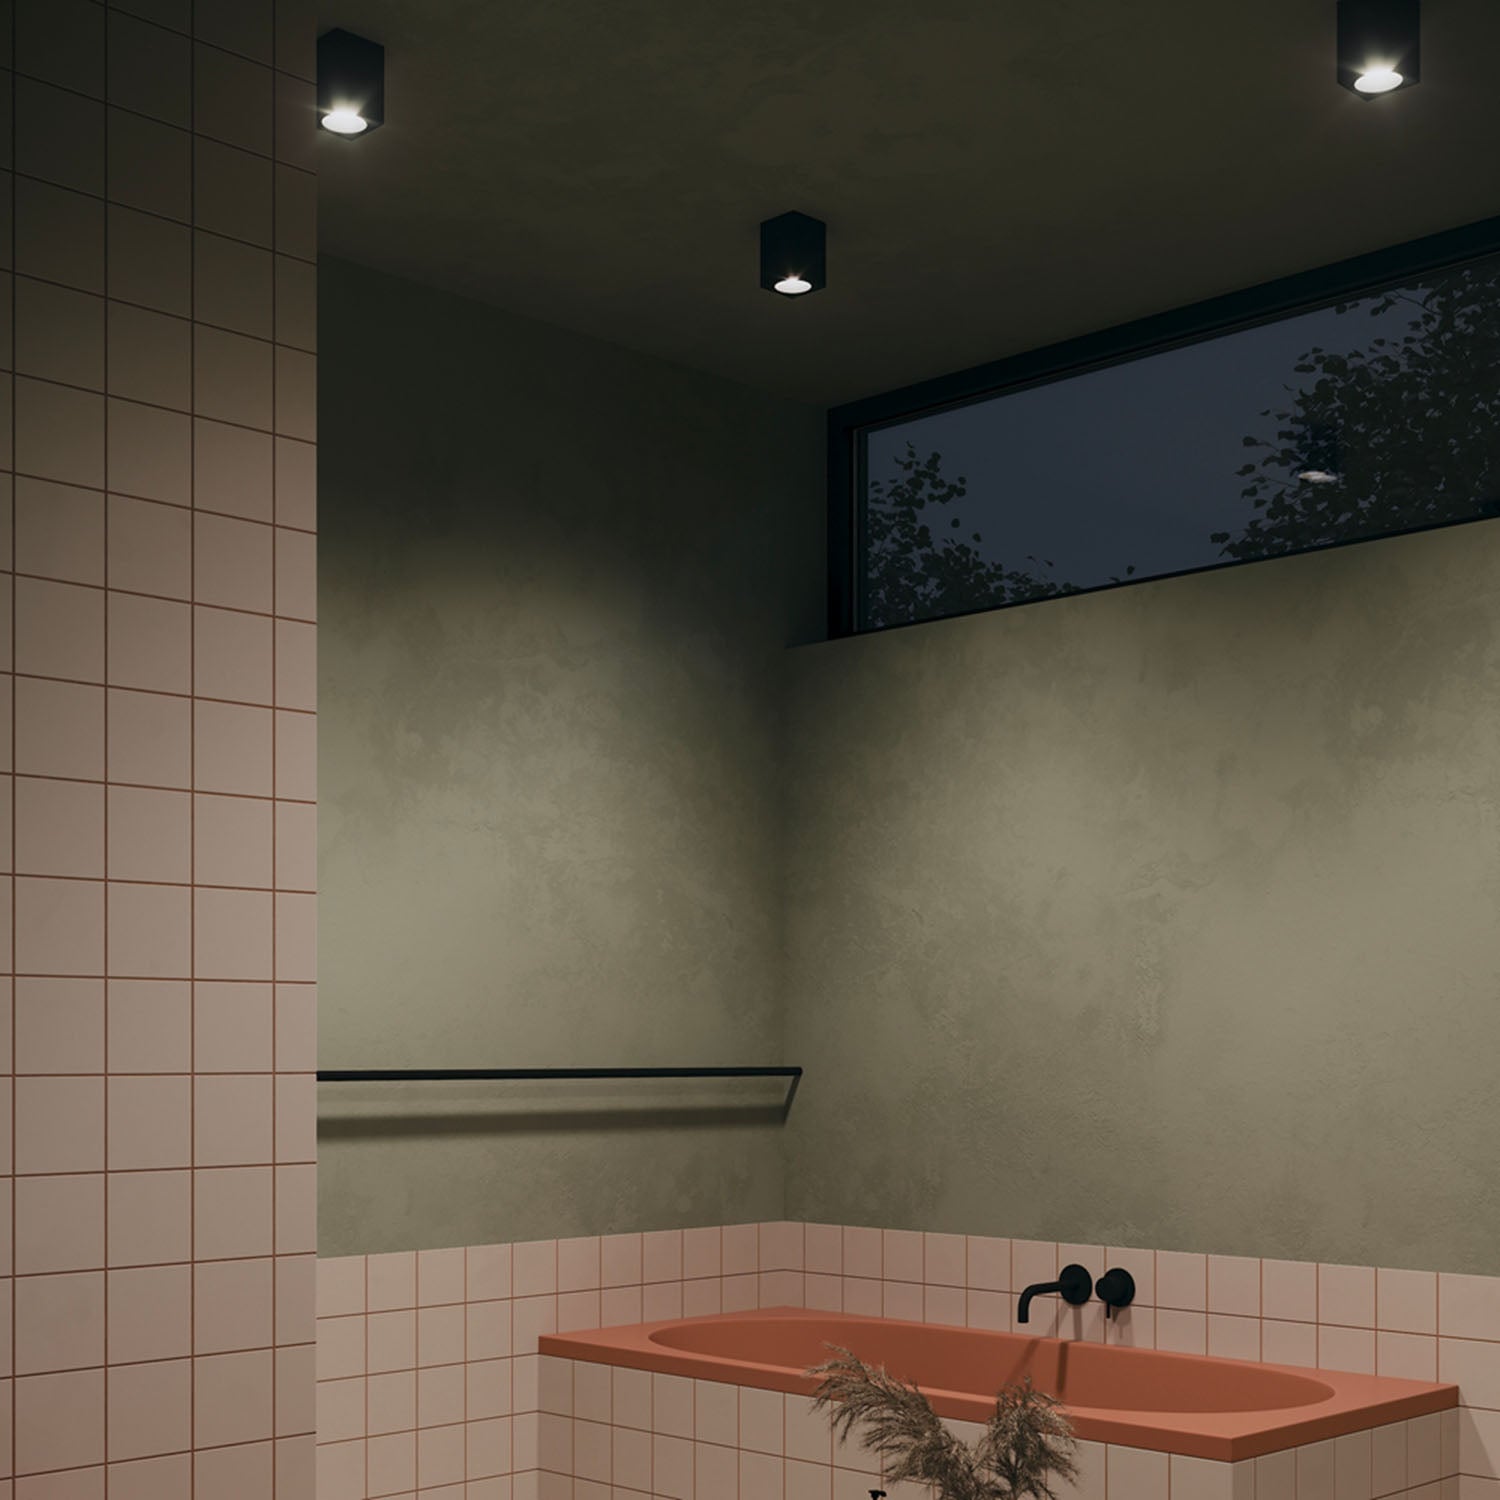
For the bathroom: secure and waterproof lighting
The bathroom requires powerful and well-distributed lighting, especially around the mirror. A need of 400 to 500 lumens/m² is common, which corresponds to how many spotlights per m2 bathroom: 1 spotlight per 1 m². Prefer spotlights with a minimum IP65 protection rating to resist humidity. For more natural and flattering light, choose a color temperature close to daylight (4000 to 5000K).

Where to position spotlights for optimal lighting?
Once the spot count calculation is done, the positioning of the ceiling lights becomes crucial to achieve harmonious lighting. Poor distribution can create shadow areas or disturbing contrasts. Properly placing your spotlights optimizes their luminous efficiency while enhancing the volumes of each room.
Respecting the distances between spotlights
To avoid uneven lighting or glare, make sure to space your ceiling spotlights evenly. A distance of 1 to 1.5 meters between each spotlight is generally recommended. Between the wall and the first spotlight, keep a gap of 50 to 80 cm to avoid direct projection that could create an unsightly halo on light-colored walls or ceilings.
By following these guidelines, the light is distributed evenly, without a "tunnel" effect or poorly lit areas. This contributes to a result that is both functional and aesthetic in all rooms.

Taking obstacles into account
The positioning of the spotlights must also take into account the fixed elements present in the room: tall furniture, beams, chandeliers, wall storage... Avoid placing spotlights directly above these elements to prevent casting shadows or creating unnecessary bright spots.
Favor a staggered layout, particularly effective for distributing light smoothly, especially in large spaces or those with multiple functional zones. This method allows illuminating every corner without visual overload or imbalance.
Mistakes to avoid when installing spotlights
A successful installation relies as much on a good recessed spot number calculation as on avoiding certain common mistakes. A poor choice of power, layout, or equipment can compromise the effectiveness of your lighting and harm the overall ambiance.
Underestimating luminous power
One of the most common mistakes is installing spotlights that are too weak. Result: you are forced to add more, which burdens the wiring, increases consumption, and complicates installation. Conversely, lighting that is too strong can generate cold, impersonal, or even harsh light. It is therefore essential to find the right balance according to the needs of each room.

Not taking ceiling height into account
A room with a ceiling height over 2.80 m requires higher luminous power or reduced spacing between spotlights. Ignoring this criterion results in ineffective lighting, often too diffuse and unpleasant. In these cases, bringing the spotlights closer or increasing their intensity is strongly recommended.
Neglecting the beam angle
Finally, the beam angle of a spotlight plays a key role in the perception of light. A too narrow angle (less than 30°) concentrates the light on a precise area and creates directional lighting. This can be suitable for work areas or accent lighting, but not for general lighting. Favor wide angles (between 35° and 60°) for soft and evenly distributed light.
Which spotlights to choose for each room?
Once the spot number calculation is done, you still need to select the right models to get the most out of your installation. The type of spotlight will depend on the desired effect, the technical constraints of the room, and the aesthetic sought. Here are the main options to consider according to the configurations.
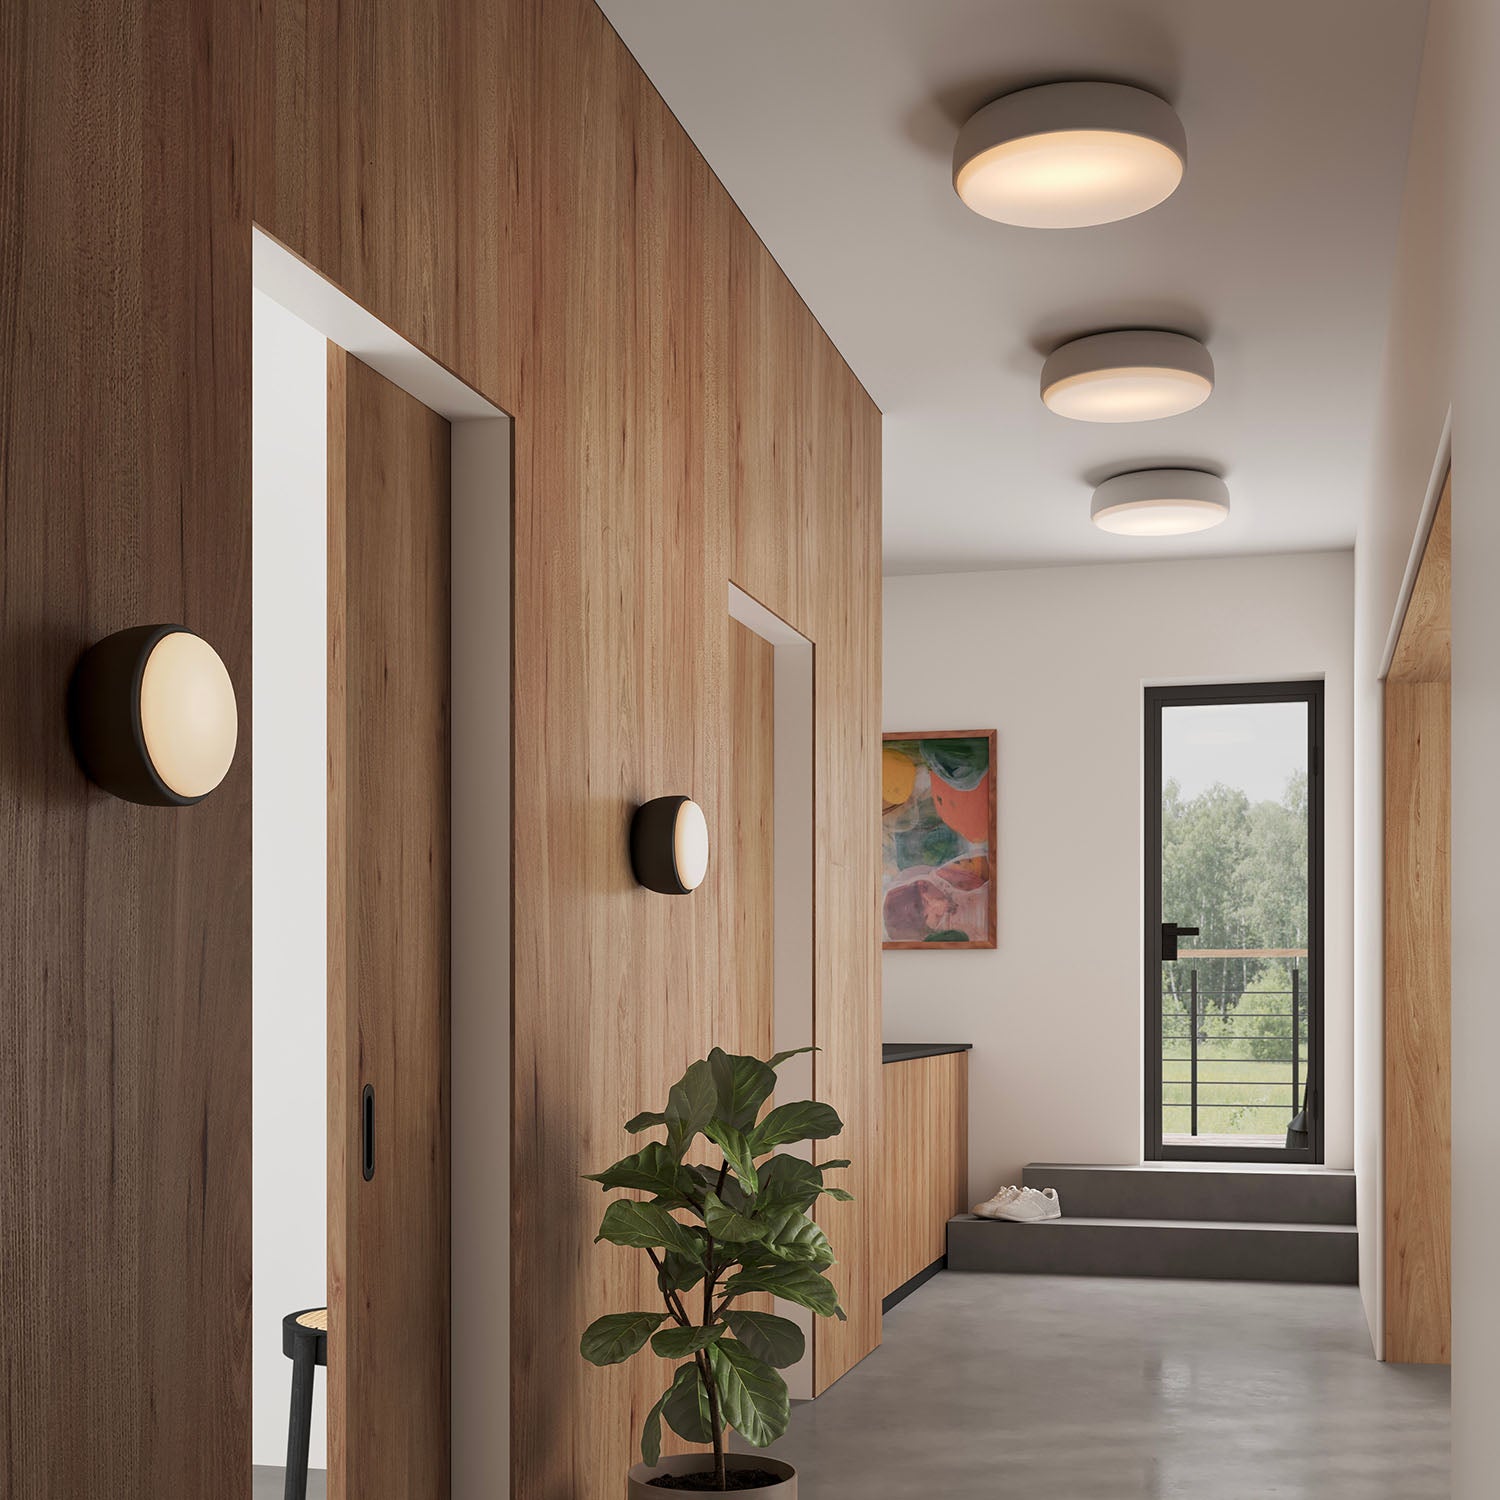
Recessed spotlights: discretion and efficiency
Recessed ceiling spotlights are the most popular for a modern and sleek look. Inserted into a false ceiling, they provide discreet and uniform lighting. This type of spotlight is ideal in a kitchen, living room, or bathroom, where a homogeneous light is desired without visually cluttering the space. Their perfect integration into the architecture guarantees an elegant result. Discover our selection of recessed spotlights for a sober and contemporary look.

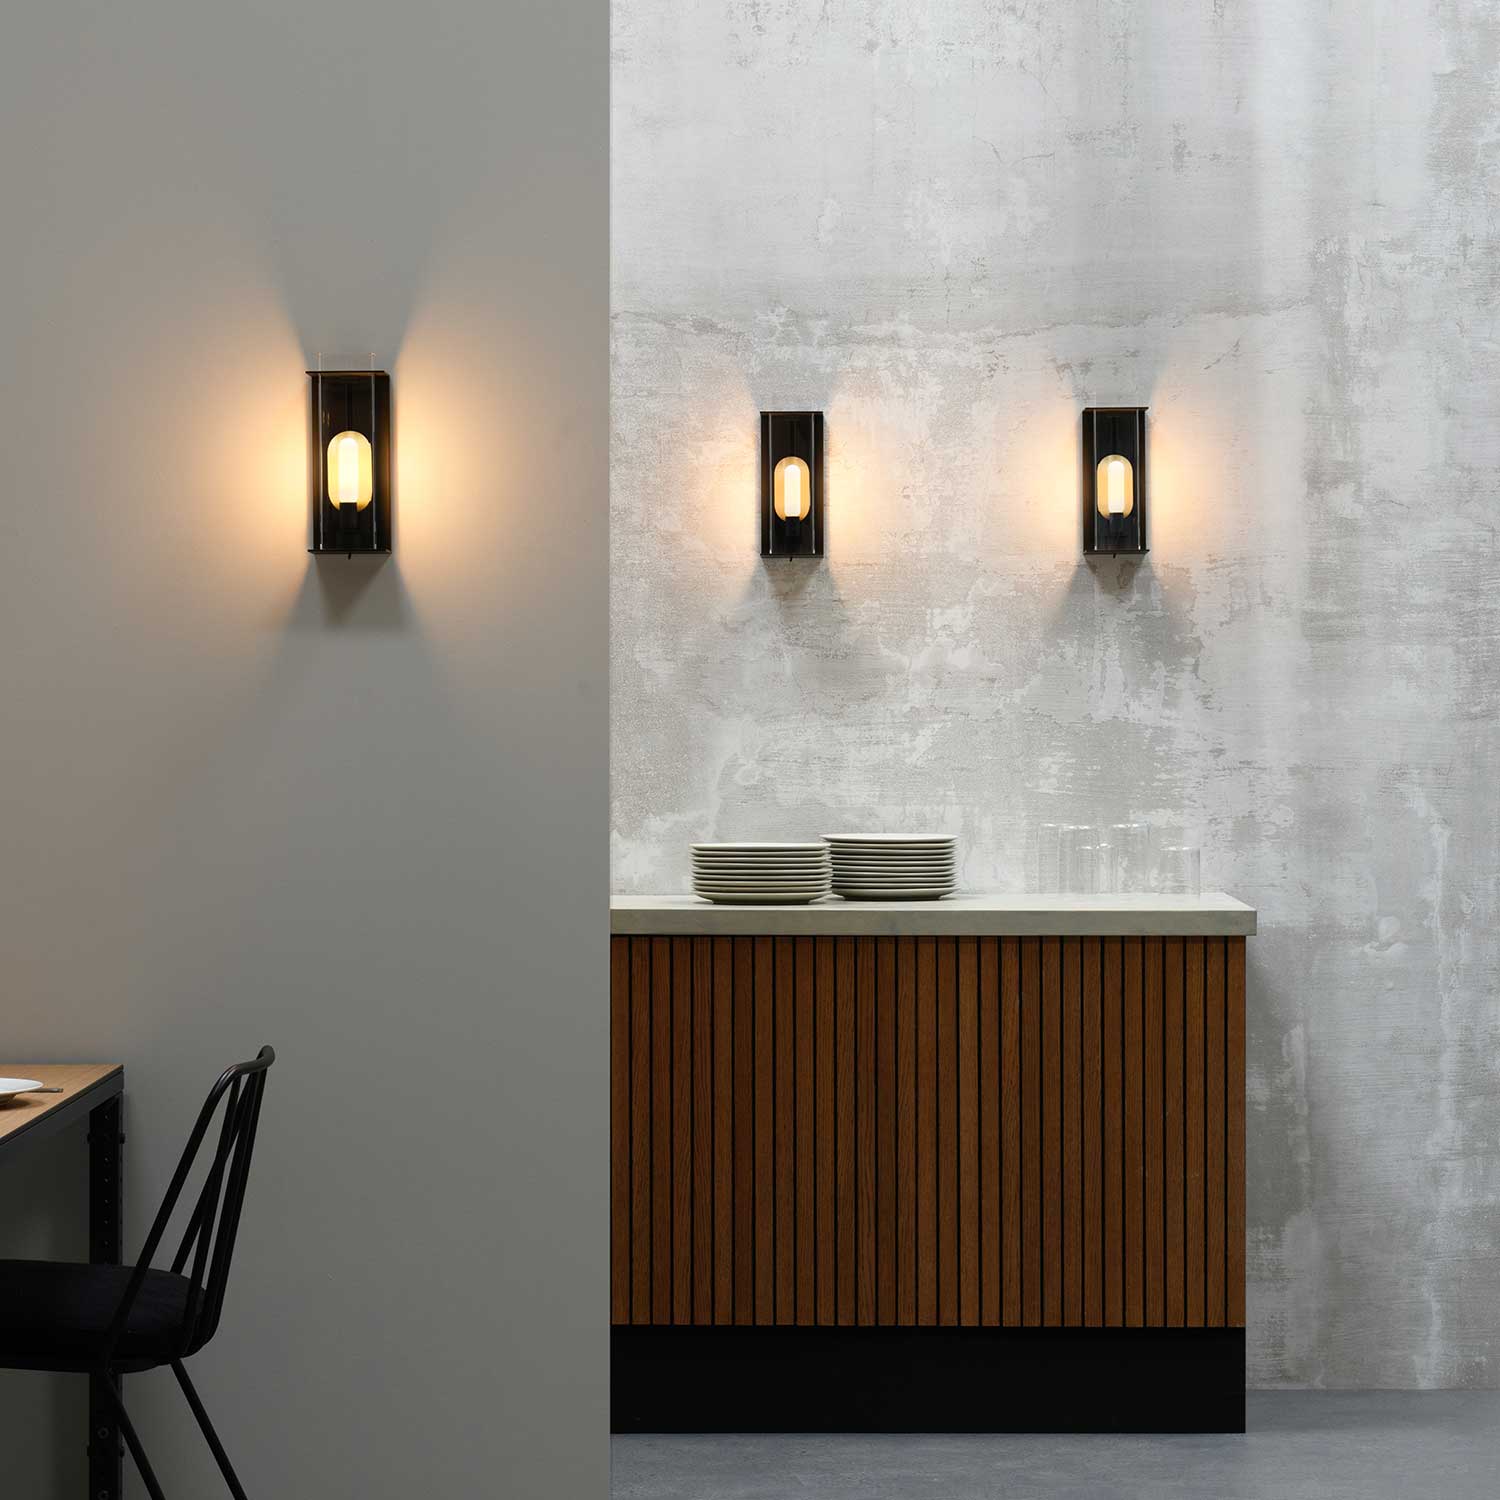
Surface-mounted spotlights: lighting flexibility
When installing recessed spotlights is not possible (ceiling too low or masonry structure), surface-mounted spotlights are an excellent alternative. Easy to install, they adapt to solid ceilings and allow light direction. Perfect for targeted lighting in a kitchen or living room, they combine aesthetics and modularity. Discover our range of surface-mounted spotlights combining design and practicality.
Track spotlights: a contemporary style
Highly appreciated in loft or industrial-style interiors, track spotlights offer great freedom of arrangement. Mounted on a rail, they can be easily moved to direct light towards specific areas: a work surface, a bookshelf, or a piece of art. This modular system is perfect for living rooms and versatile spaces. Coming soon on our site, the track spotlight collection will combine graphic style and great flexibility of use.
Our tips for harmonious lighting with spotlights
The recessed spot count calculation is only part of the work. For an aesthetic, comfortable, and functional result, it is essential to integrate the spotlights into an overall lighting strategy. Here are our tips to make the most of your installation.
Rely on intensity variation
Installing a dimmer allows you to adjust the lighting according to the desired ambiance. Bright intensity during the day for cooking or teleworking, and soft light in the evening for relaxation. Check that your spotlights are compatible with dimmers to ensure proper operation without flickering or overheating.
Combine multiple light sources
To avoid flat and monotonous lighting, consider complementing your spotlights with other luminaires: decorative pendants, table lamps, or wall sconces. This combination helps structure the space, add depth to your decor, and create specific ambiance zones within the same room.
Check technical compatibility
Before any installation, make sure your spotlights are suitable for your electrical system and the room's volume. A poor choice can lead to overconsumption, safety issues, or ineffective lighting. Opt for quality low-consumption LED spotlights, guaranteed for their longevity and luminous efficiency.

Leave a comment
This site is protected by hCaptcha and the hCaptcha Privacy Policy and Terms of Service apply.