How to install a ceiling light?
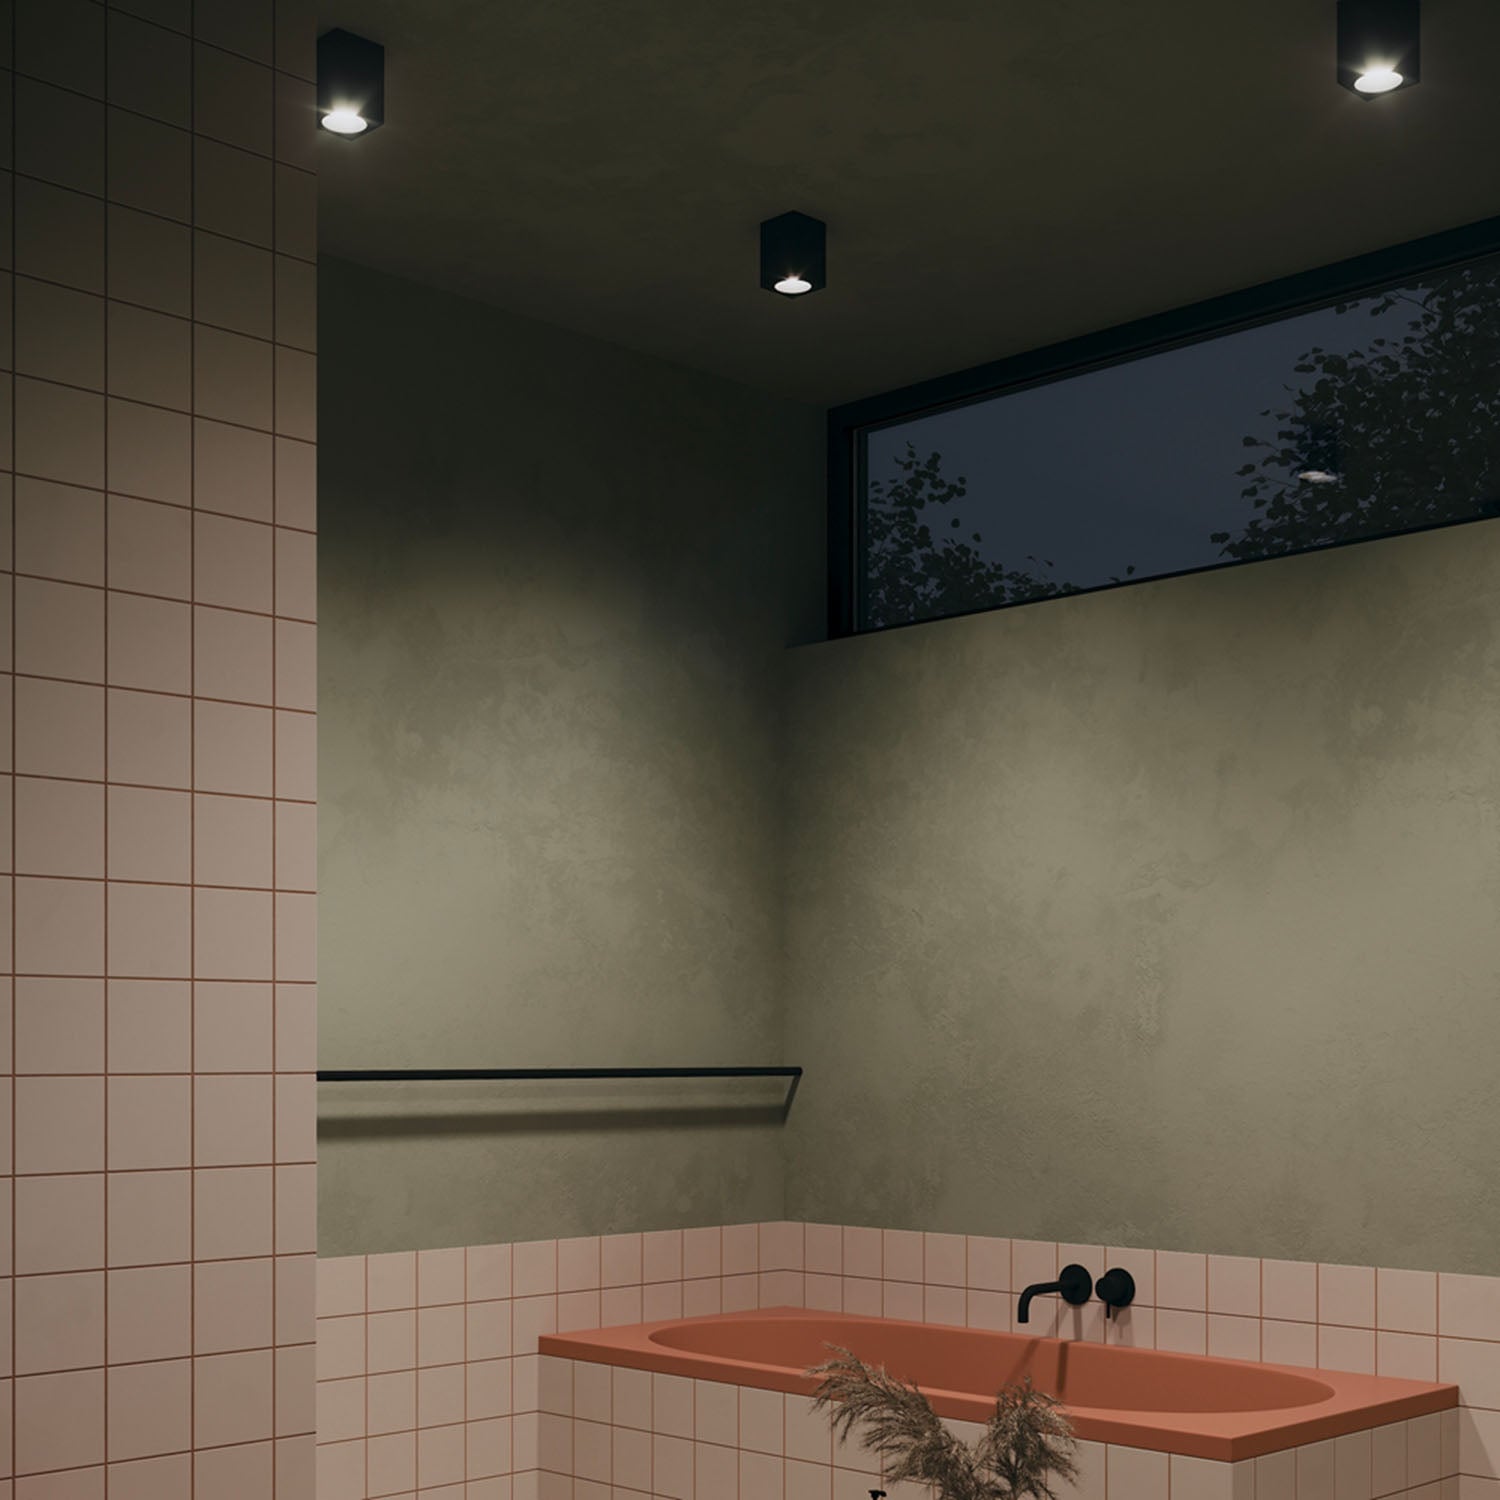
The ceiling light is a key element for even and aesthetic lighting. Versatile, it adapts to all rooms, from the living room to the kitchen, offering light suited to every need. Its installation, although technical, remains accessible by following a few key steps. From preparing the equipment to connecting the wires, this guide will assist you in installing a ceiling light safely, with or without drilling. Discover our selection of ceiling lights to find the ideal model.

Prepare the installation of your ceiling light
Before proceeding with the installation of your ceiling light, it is essential to prepare well. This step allows you to anticipate constraints related to the type of ceiling, ensure a secure connection, and have all necessary tools at hand. Good preparation guarantees a successful installation and optimal lighting.
Tools needed to install a ceiling light
For a secure and precise installation, it is important to have the right tools on hand. A drill may be required to fix the bracket, unless you use alternative solutions to install a ceiling light without drilling. An insulated screwdriver is essential for connecting electrical wires, while wire strippers make their preparation easier. Using appropriate anchors guarantees a stable fixation, and a voltage tester allows you to check for the absence of current before any handling.
- Drill (or alternative for drill-free mounting)
- Insulated screwdriver to screw and secure connections
- Wire stripper to prepare electrical wires
- Anchors and screws suitable for the type of ceiling
- Voltage tester to ensure electrical safety
- Step ladder to easily reach the ceiling

Identify the specifics of your ceiling
Adapting the mounting of your ceiling light to the type of ceiling is essential to ensure its sturdiness. A concrete ceiling requires expansion anchors and appropriate drilling, while a plasterboard ceiling needs Molly bolts to prevent tearing. On a wooden ceiling, simple screws are sufficient. To hang a ceiling light without drilling, opt for ultra-strong adhesives for lightweight models or self-supporting hooks for a practical and damage-free solution. Choosing the right method ensures a reliable and durable fixation.
Check electrical safety
Before any handling, cut off the electrical power from the electrical panel and switch the circuit breaker to the "off" position to avoid any risk of electrocution. Then check the absence of current using a voltage tester to ensure a safe installation. During assembly, avoid any direct contact with electrical wires and make sure the ceiling light is compatible with your network. If your installation does not have a DCL box, you will need to plan an appropriate connection solution to install a ceiling light without DCL. In case of doubt about the electrical configuration, it is always best to call a professional.
Steps to hang and wire a ceiling light
Once your preparation is complete, it's time to proceed with the actual installation. To ensure optimal lighting and a solid fixing, each step must be carried out precisely. From marking the location to connecting the electrical wires, follow these instructions to install a ceiling light and wire the connections safely and ensure an aesthetic and functional result.
Mark the location of the ceiling light
Proper positioning of the luminaire ensures even light distribution and avoids shadow areas. Start by identifying the center of the room or the area to be lit by measuring the distance between the walls, then mark the central point on the ceiling with a pencil. If the ceiling light must be aligned with a specific element, such as a table or an island, use a tape measure and a level to guarantee perfect alignment. Finally, mark the fixing points taking into account the support provided with the luminaire to ensure a stable and secure installation.
Fix the ceiling light to the ceiling
Once the location is defined, it's time to fix the ceiling light to the ceiling according to the support used. If the luminaire has a mounting bracket, position it on the marked points and mark the drilling spots. For a concrete ceiling, drill with an appropriate bit and insert strong anchors before screwing. On a plasterboard ceiling, prefer expansion anchors to ensure good support. Always make sure the fixings are well anchored to avoid any risk of falling, especially for heavier models.
Connecting electrical wires: essential steps

After mounting the ceiling light, it is crucial to proceed with a secure electrical connection. A good connection guarantees not only the proper functioning of the fixture but also the safety of the installation. It is essential to correctly identify the wires, comply with current standards, and perform checks before restoring power.
Understanding electrical wire color codes
Before connecting a ceiling light, it is essential to correctly identify the electrical wires to avoid any risk of error. In France, the blue wire corresponds to neutral, the brown or red wire to the live wire, and the yellow/green wire to the ground, ensuring grounding for safety. A poor connection can cause malfunction or a short circuit. To avoid this, use a voltage tester to check for the presence or absence of current before any handling. Adhering to these standards ensures a reliable and safe installation.
Safely connecting a ceiling light
Once the wires are identified, connect those of the light fixture to those of the ceiling following the color codes: the blue wire with the neutral, the brown or red wire with the live, and, if present, the yellow/green wire to the ground. Use wire nuts or automatic connectors to ensure a solid connection and avoid any loose contact or overheating. Check that the wires are neither too tight nor stripped before closing the electrical box. Once the connection is complete, you can restore power and test the ceiling light's operation.
Testing and finalizing the ceiling light installation
Once the connection is made, it is essential to verify that your ceiling light works correctly before finalizing the installation. This step ensures that the electrical wiring is properly done and that the fixture is securely mounted. A good test guarantees optimal lighting and avoids adjustments afterward.

Testing the electrical operation
Before restoring power, make sure the wires are properly connected and insulated. Turn the power back on at the circuit breaker and test the switch. If the ceiling light does not turn on, check that the bulb is screwed in correctly, the switch is working, and the wires are properly connected. If the problem persists, turn off the power again and inspect the connections for any possible errors.
Adjust and secure the installation
Once the test is successful, secure the ceiling light. Check that the support is well fixed and that the fixture is stable. If the model is adjustable, direct the lighting according to your needs. Carefully arrange the wires inside the box, attach the cover, and tighten the last elements. Your installation is now complete, ready to beautify and illuminate your interior.
Tips and advice for a lasting installation
Once your ceiling light is installed, it is important to adopt good practices to ensure its longevity and maintain optimal lighting. Regular maintenance and a few adjustments can make all the difference in terms of performance and durability.

Maintain your ceiling light after installation
A clean ceiling light ensures optimal lighting and extends the lifespan of its components. Regularly dust the bulbs and the ceiling LED panel fixture with a soft cloth to avoid any alteration of their light intensity. Also check the stability of the fixtures and the condition of the cables to prevent any risk. For thorough maintenance, consult our guide on cleaning lighting fixtures.
Optimize your lighting with accessories
For a more functional ceiling light tailored to your needs, adding accessories can make all the difference. A dimmer allows you to adjust the intensity according to the desired ambiance, while connected bulbs offer remote control via a mobile app. It is also essential to adapt the type of ceiling light to each room: powerful lighting for the kitchen, soft for a bedroom, and adjustable for the living room. Discover our advice on kitchen lighting and bathroom lighting.
Ceiling light installation is accessible to all
Installing a ceiling light is a task within everyone's reach by following the steps described in this article. Even without electrical experience, you can safely complete this installation, whether using traditional fixtures or alternatives like adhesives and self-supporting suspensions. Beyond its functional aspect, a ceiling light plays a key role in the ambiance of a room. For optimal customization, opt for dimmers or connected bulbs. Discover our selection of ceiling lights and find the ideal model for your interior.








Leave a comment
This site is protected by hCaptcha and the hCaptcha Privacy Policy and Terms of Service apply.