How to install a pendant light?
Have you fallen for an elegant chandelier or a designer pendant light and want to install it yourself? This article offers you a complete, step-by-step guide on how to hang a pendant simply and effectively. Discover our tips for a safe installation and durable use. Follow our recommendations and transform your space with lighting that is both functional and aesthetic.

Tools needed for installing a pendant light

Before starting, make sure you have the following tools within reach:
- A step stool or ladder to reach the necessary height
- A flathead or Phillips screwdriver for screws
- Wire strippers to remove the insulation from electrical wires
- A voltage tester to check the electrical supply
- Needle-nose pliers to twist electrical wires
- A wrench or socket to fix the mounting bracket
- A suspension hook or DCL box in old installations
Choosing the location of the pendant
Before installing your hanging light, think about the ideal location. Consider the ceiling height, room size, and desired functionality. Also ensure that the wattage of the bulbs you will use respects the limit indicated on your fixture. This step is essential to guarantee durable and safe use after having installed a lampshade or a pendant.
Preliminary preparation for installation
To install a pendant light, preparation is essential. Start by cutting off the electrical supply: locate the corresponding circuit breaker and switch it to "off". Check for the absence of current with a voltage tester to ensure your safety.

If a chandelier is already installed, carefully remove it by unscrewing the fastenings and unplugging the wires. Examine the installation to determine if a DCL box or another fixture is in place. If not, prepare a fixture suitable for your ceiling (concrete, plasterboard, wood) using sturdy anchors.
Also make sure that the power of the bulbs you will use respects the limit indicated on your fixture. This step is essential to ensure durable and safe use after having installed a lampshade or a hanging fixture.
Fixing the mounting bracket of the fixture
Start by fixing the mounting bracket to the ceiling at the desired location. To ensure a stable result, use a screwdriver and a wrench or socket to firmly tighten the screws. Make sure the bracket is securely fixed and can support the weight of the hanging fixture or chandelier you want to install.

Before installing a fixture, check the length of the electrical wires. A poorly adjusted hanging fixture can affect the aesthetics and practicality of the installation. To help you, consult our detailed guide on at what height to position a wall light.
If your ceiling requires anchors, choose them according to the material, whether concrete, drywall, or wood. Proper fastening is essential to securely and durably hold your hanging fixture. Finally, before moving to the next step, take a moment to check that the bracket is well aligned and perfectly fixed to the ceiling.
This step is crucial to ensure a successful and safe installation. Following these recommendations will make the process of how to install a chandelier easier while ensuring an aesthetic and durable result.
Connecting the suspension wires to the ceiling

Once the mounting bracket is in place, the next step is to connect the electrical wires of your chandelier to the ceiling wires. To ensure a secure and compliant connection, start by stripping the wire insulation using wire strippers. Strictly follow the wire color code: generally, the blue wire corresponds to neutral, the brown or red wire to live, and the green/yellow wire to ground.
Next, twist the wires together using needle-nose pliers, then secure the connections with wire nuts or automatic connectors. Make sure all connections are tight and perfectly insulated to prevent any malfunction. Once the wires are connected, carefully gather them inside the designated cover. If the wires are too bulky, a tip is to use a cable tie to hold them in place before reattaching the cover.
Finally, put the bulb back into the chandelier. Take the time to check that you have chosen a bulb suitable for the maximum power allowed by the fixture. To help you with this choice, discover our guide on the right lighting temperature for your bulb.
This step is essential for optimal and safe operation of your lighting fixture. By following these steps, you will be able to easily install a chandelier on a DCL box, even if you are a DIY novice. This method ensures a secure and durable connection for your lighting fixture.
The final step of installing a pendant light
Once the electrical connections are made, it is time to install the pendant light's lampshade. Follow the manufacturer's instructions to properly attach the lampshade. Make sure the lampshade is well fitted and secured.

Once the lampshade is installed, you can restore the electrical power by switching the circuit breaker to the "on" position. Carefully test your installation to ensure everything works as expected. If you have followed all the steps, you will have successfully installed a lighting fixture professionally and safely.
After restoring the electrical power, test the pendant light to ensure it works properly. Turn the chandelier on and off several times to check its proper functioning. Also make sure the pendant light is well aligned and at the desired height.
Our safety tips + bonus
Always make sure to cut off the electrical power before starting the installation. If you have doubts or concerns about the electrical installation, consult a qualified electrician. Do not hesitate to ask for help if you need to lift or hold heavy objects during installation. Read and carefully follow the instructions provided by the lighting fixture manufacturer.
Installing a pendant light may seem intimidating at first, but with the right knowledge and tools, it is a task achievable for any DIY enthusiast. Follow the steps described in this article and enjoy the elegant and functional lighting your fixture will bring to your space.
Bonus: How many lighting fixtures for your room?
For optimal lighting, consider the size of your room and the number of lumens required per square meter. For example:
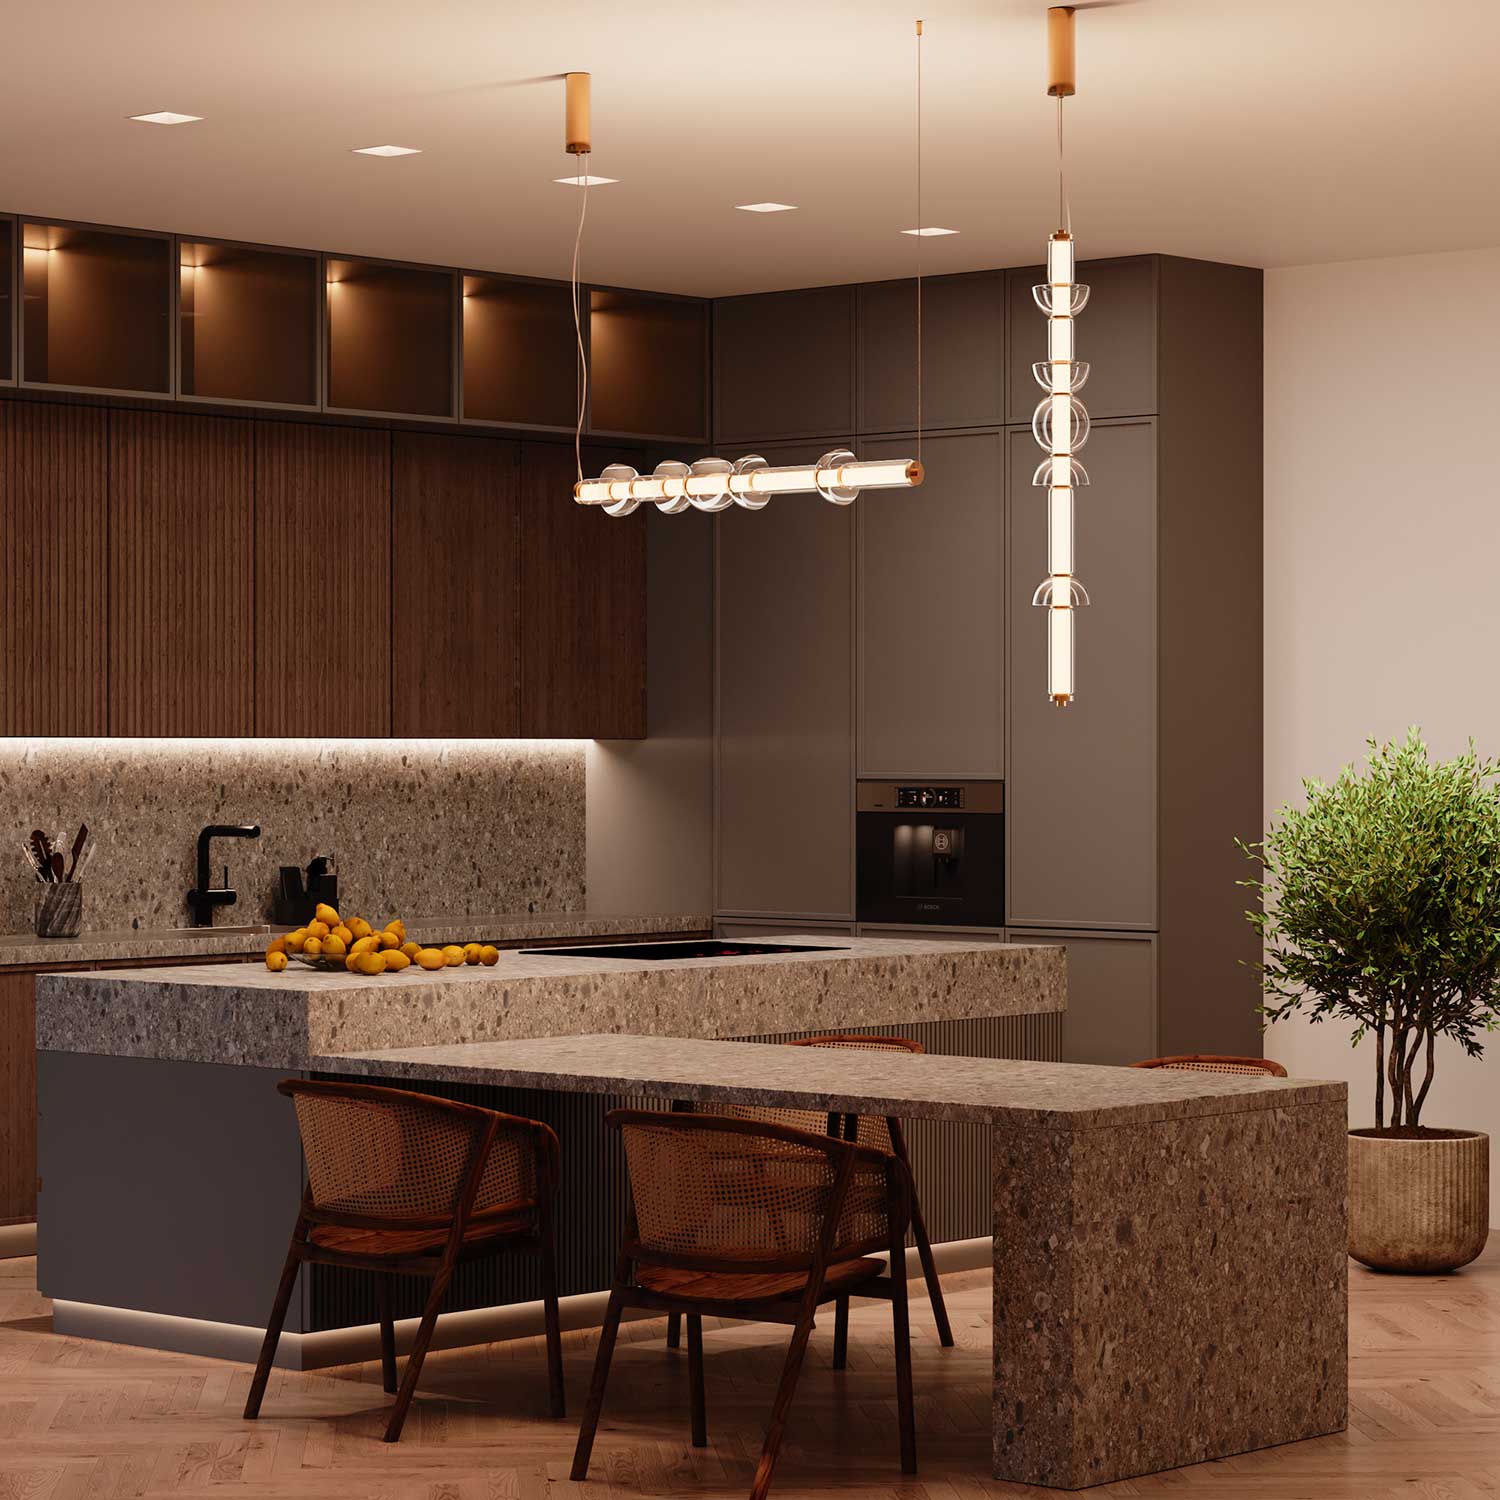
A kitchen or workspace requires about 300 to 500 lumens/m². For a living room or bedroom, plan for 100 to 300 lumens/m² depending on the desired ambiance. If you install several pendant lights, distribute them evenly for uniform lighting and avoid shadow areas.
To go further, discover our tips for maintaining your lighting fixtures, essential to preserve their shine and proper functioning over time. Check out our dedicated guide here: how to maintain and clean a lighting fixture.

Leave a comment
This site is protected by hCaptcha and the hCaptcha Privacy Policy and Terms of Service apply.