Our guide to installing recessed spotlights: steps, tips, and mistakes to avoid
Want modern, discreet, and effective lighting to enhance your interior? Opting for recessed spotlights is an excellent solution. Whether in a kitchen, living room, or bathroom, they provide even lighting without cluttering the space, while highlighting volumes and materials. But installing recessed spotlights requires some preparation: spacing, ceiling type, electrical wiring, and choosing the right model for each room… This complete guide walks you through the installation step by step to ensure safety. You will find essential steps, layout advice, and common mistakes to avoid to enjoy lighting that is both functional and aesthetic.
Why choose recessed spotlights for your interior?
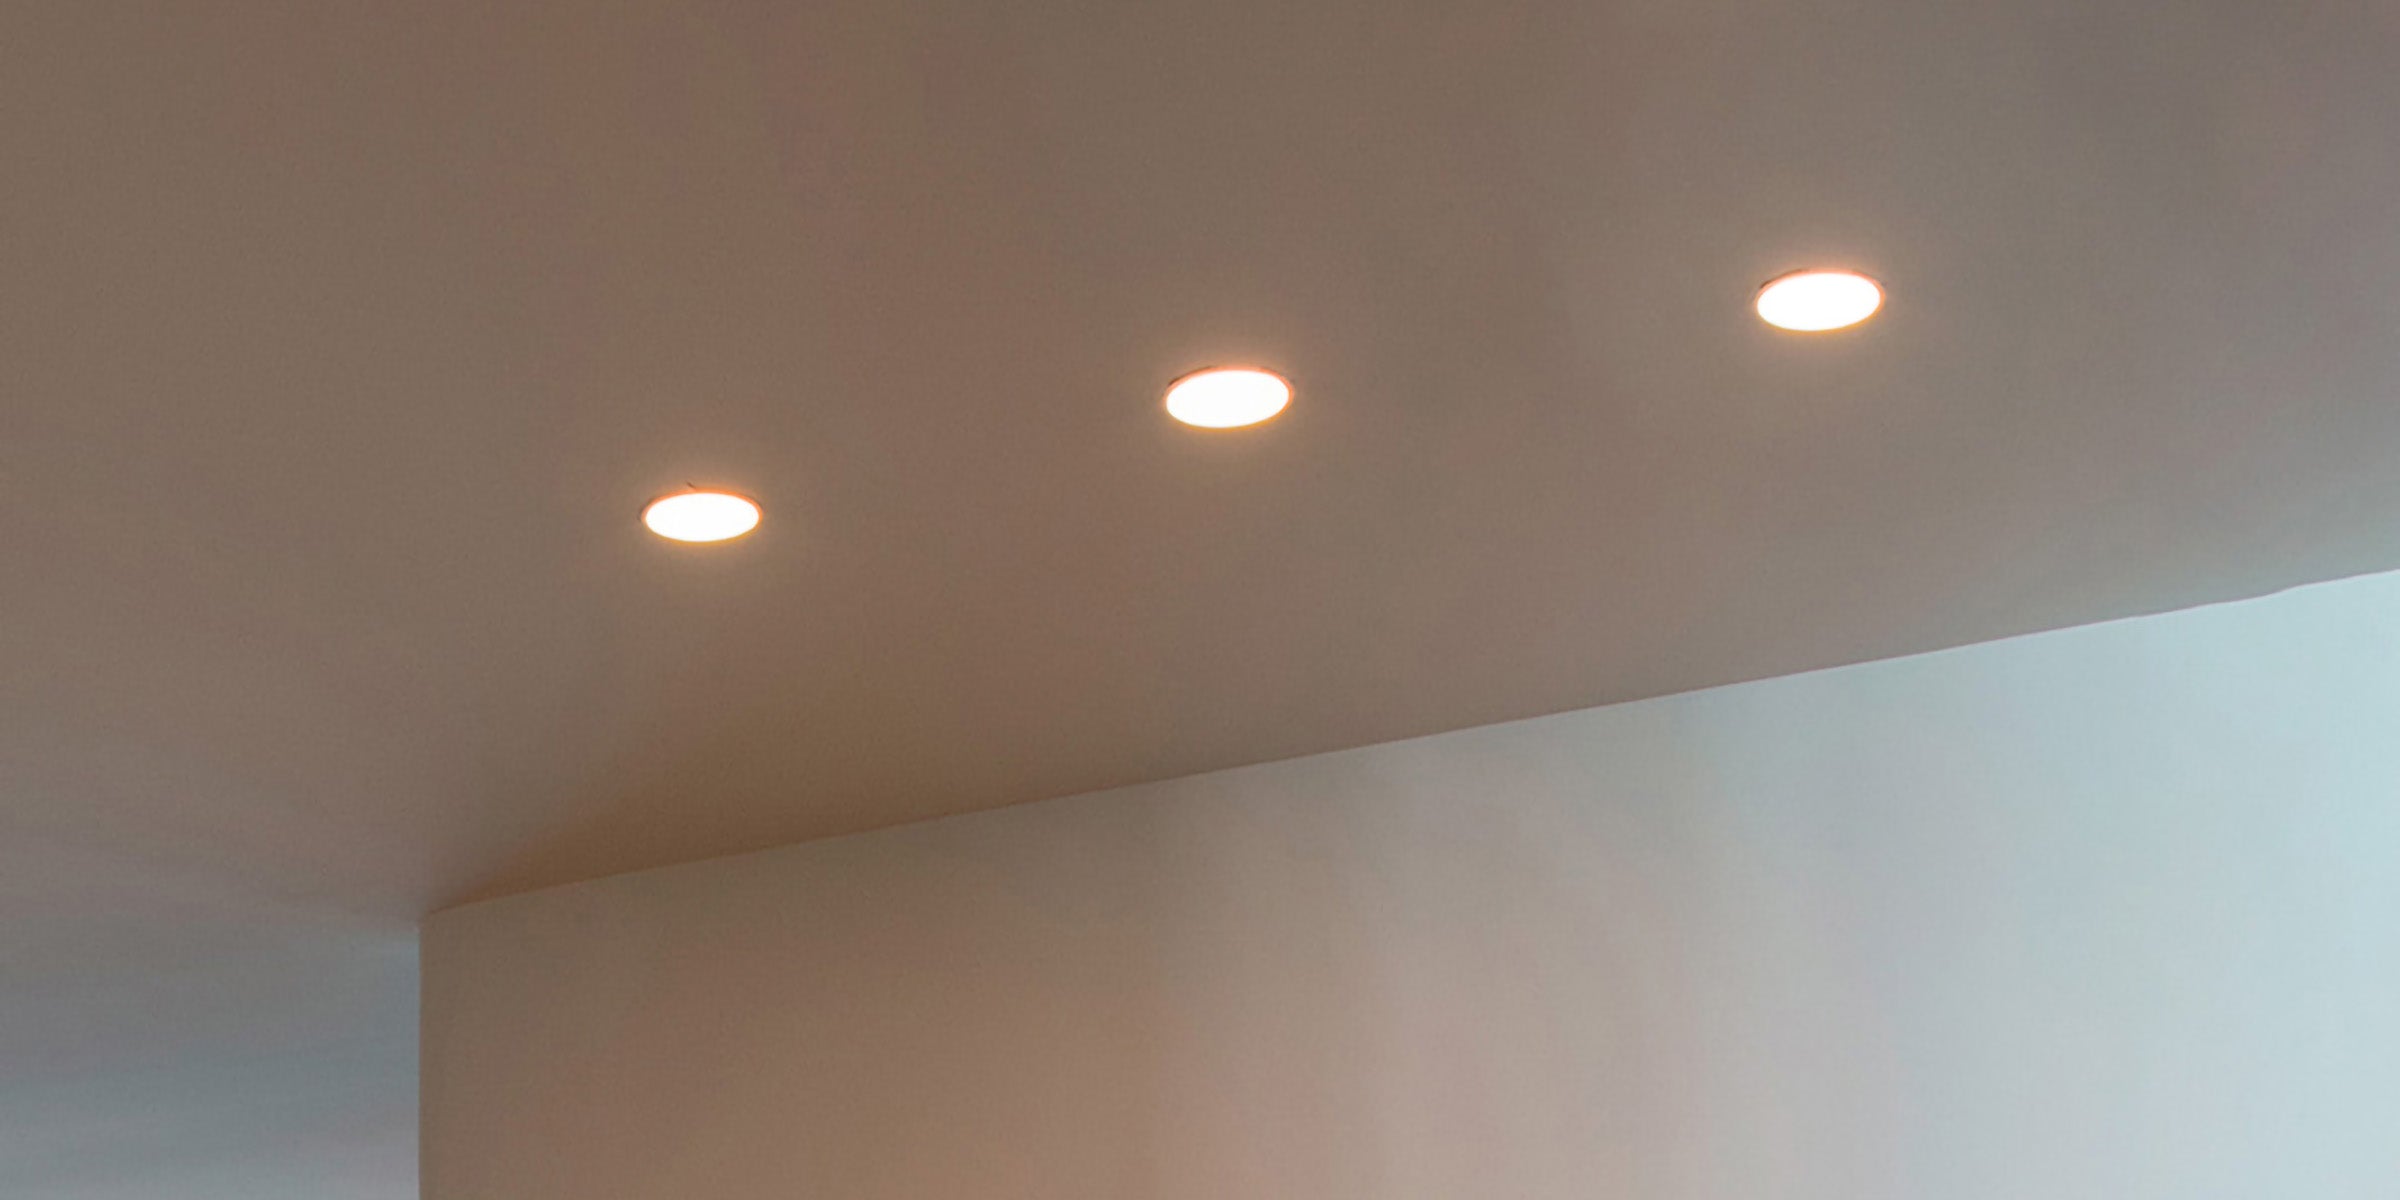
Recessed spotlights have become a staple of interior lighting, both for their aesthetics and practicality. They offer elegant, well-distributed light without visual clutter, ideal for contemporary interiors. Installed in the ceiling or a false ceiling, they integrate perfectly with the room’s architecture.

Beyond their discretion, recessed LED spotlights stand out for their energy efficiency. Unlike halogen spotlights, they consume much less electricity while providing a strong light output. Their versatility allows use in all rooms: living room, kitchen, hallway, bathroom, or bedroom, for general or targeted lighting. Finally, thanks to their strategic positioning, ceiling spotlights help highlight certain volumes, accentuate decorative elements, or create a warm atmosphere. An ideal choice for a functional and refined interior.
5 steps to install recessed spotlights
To install recessed spotlights properly, it is important to follow a clear and structured process. Whether you are an experienced DIYer or a well-informed amateur, these five steps will guide you to a successful, safe, and aesthetic installation. From planning to powering on, each phase is important.
1. Define the optimal location and spacing of the spotlights
The distribution of recessed LED spotlights directly influences lighting quality. It is recommended to maintain a distance of 1 to 1.5 meters between each spotlight, depending on their power and the desired light output. This arrangement avoids shadow zones and ensures even lighting. Be sure to identify traffic areas or surfaces to highlight (worktop, table, reading corner).
2. Check ceiling compatibility and make markings
Recessed spotlights require a suitable support, such as a false ceiling made of plasterboard, wood, or removable tiles. Once locations are defined, use a template and pencil to precisely mark the holes to be drilled. Ensure the structure allows hiding cables and boxes.
3. Drill and install the mounting boxes
Equip yourself with a drill fitted with a hole saw suitable for your spotlights’ diameter (usually 68 mm to 75 mm). Drill slowly and cleanly to avoid damaging the ceiling. Then install the mounting boxes that will hold the LED spotlights.

4. Do the electrical wiring and connect the spotlights
Before any electrical work, turn off the power at the panel. Wiring can be done in series or parallel depending on the setup. Use wire connectors or quick connectors to join the wires. Strictly follow the NF C 15-100 standard, which requires using appropriate cables and differential protections for lighting circuits.
5. Fix and test the recessed spotlights
Once wiring is complete, insert the spotlights into their locations. Most have spring clips that hold them in place. Restore power and test operation. Make sure all low voltage or LED spotlights light up correctly and are securely fixed.
Where and how to properly place recessed spotlights?
Proper positioning of ceiling spotlights is essential to ensure lighting that is both effective and harmonious. Besides regular spacing, consider the room’s function, areas to illuminate, and the desired light type. To properly choose spotlights, it is recommended to calculate the number needed based on surface area and expected light intensity.
On average, a living space requires about 300 lux per square meter. To determine how many spotlights to install, use this simple formula:
Room area (m²) × 300 lux ÷ light output of one spotlight (in lumens)
Example: for a 20 m² living room with 600-lumen spotlights, about 10 recessed LED spotlights are needed for even lighting. Be sure to check bulb characteristics (power, output, beam) before installation.
Mistakes to avoid in spotlight positioning
- Irregular spacing: too close, spotlights create an unpleasant “spotlight” effect; too far apart, they leave shadow zones.
- Poor orientation: a badly directed angle can make lighting uncomfortable or ineffective.
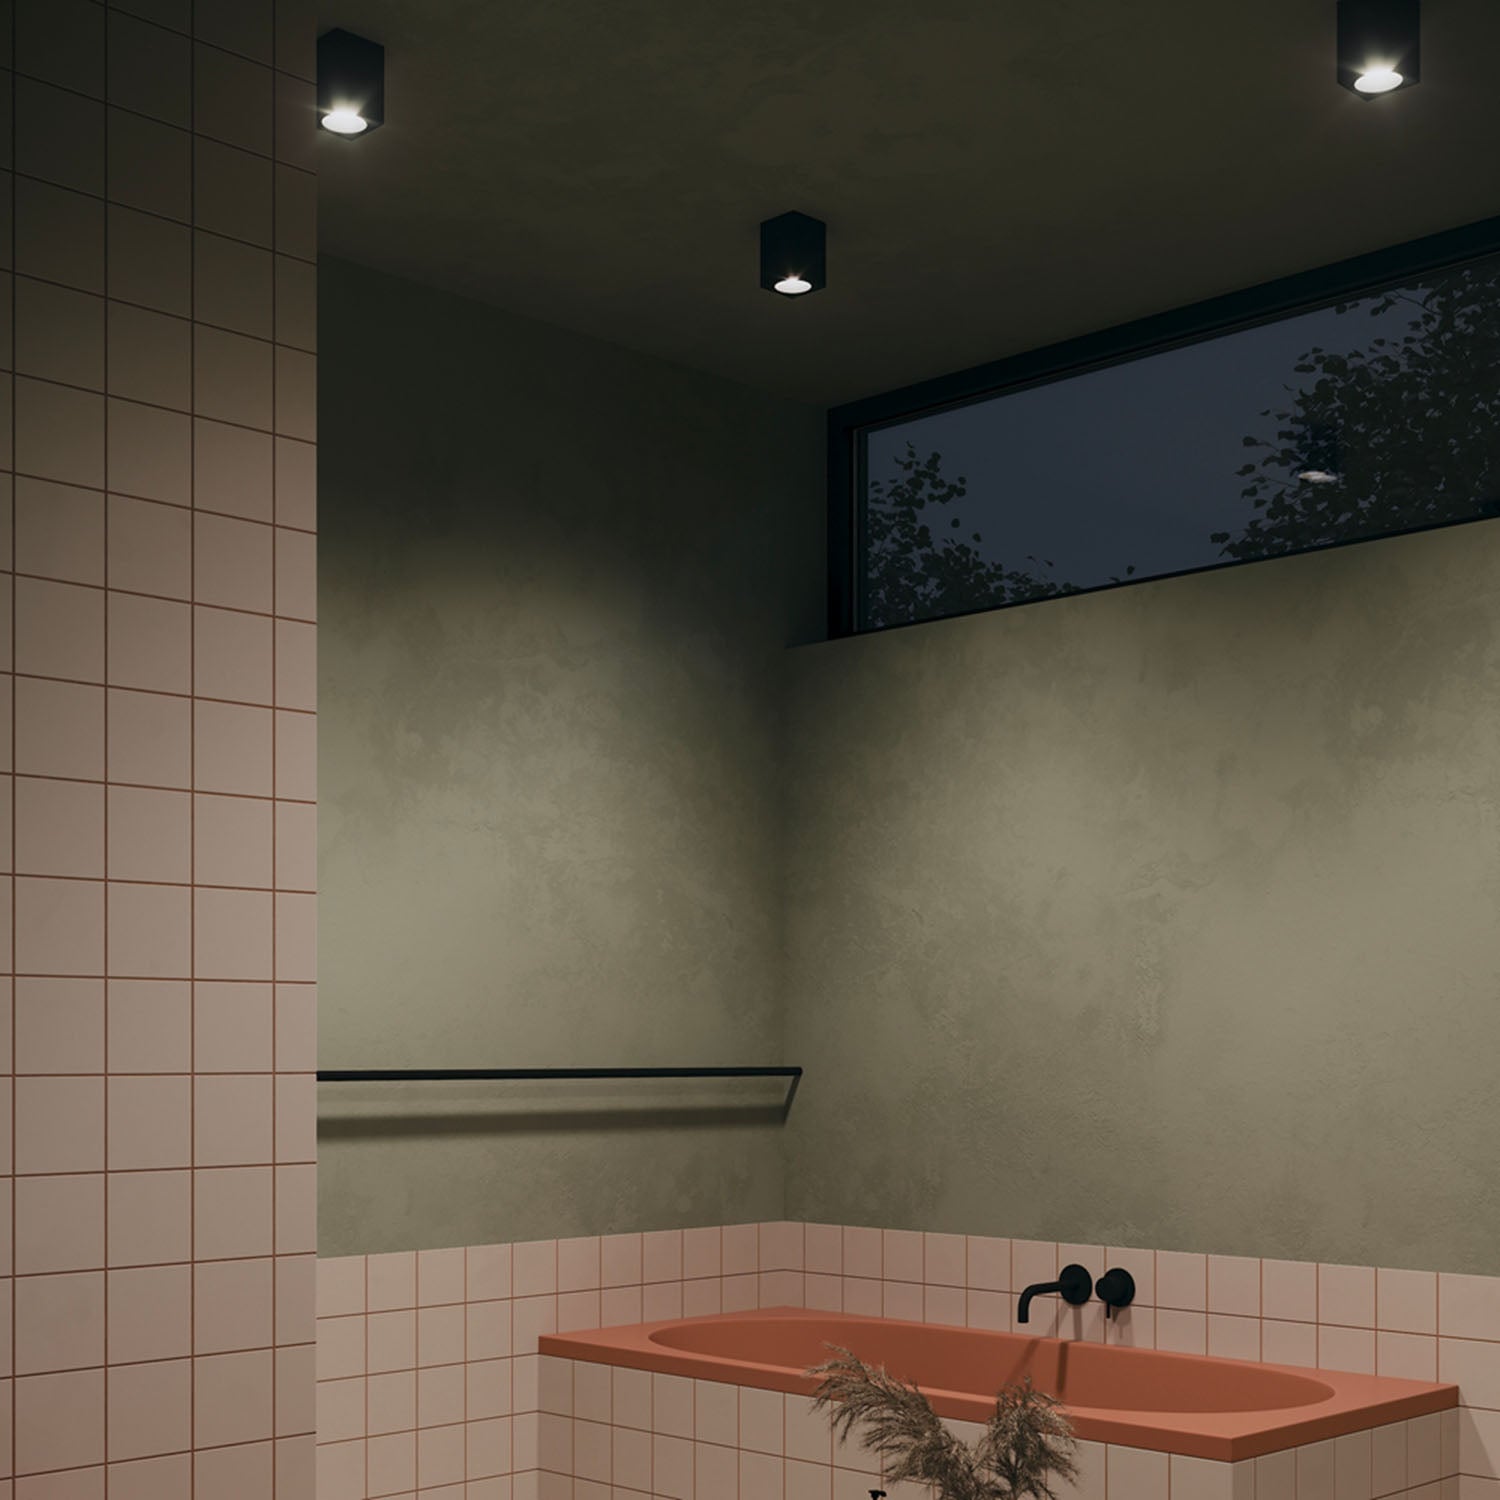
- Ignoring wet zones: in the bathroom, some locations require waterproof spotlights with an IP44 or IP65 rating.
Room-by-room layout examples
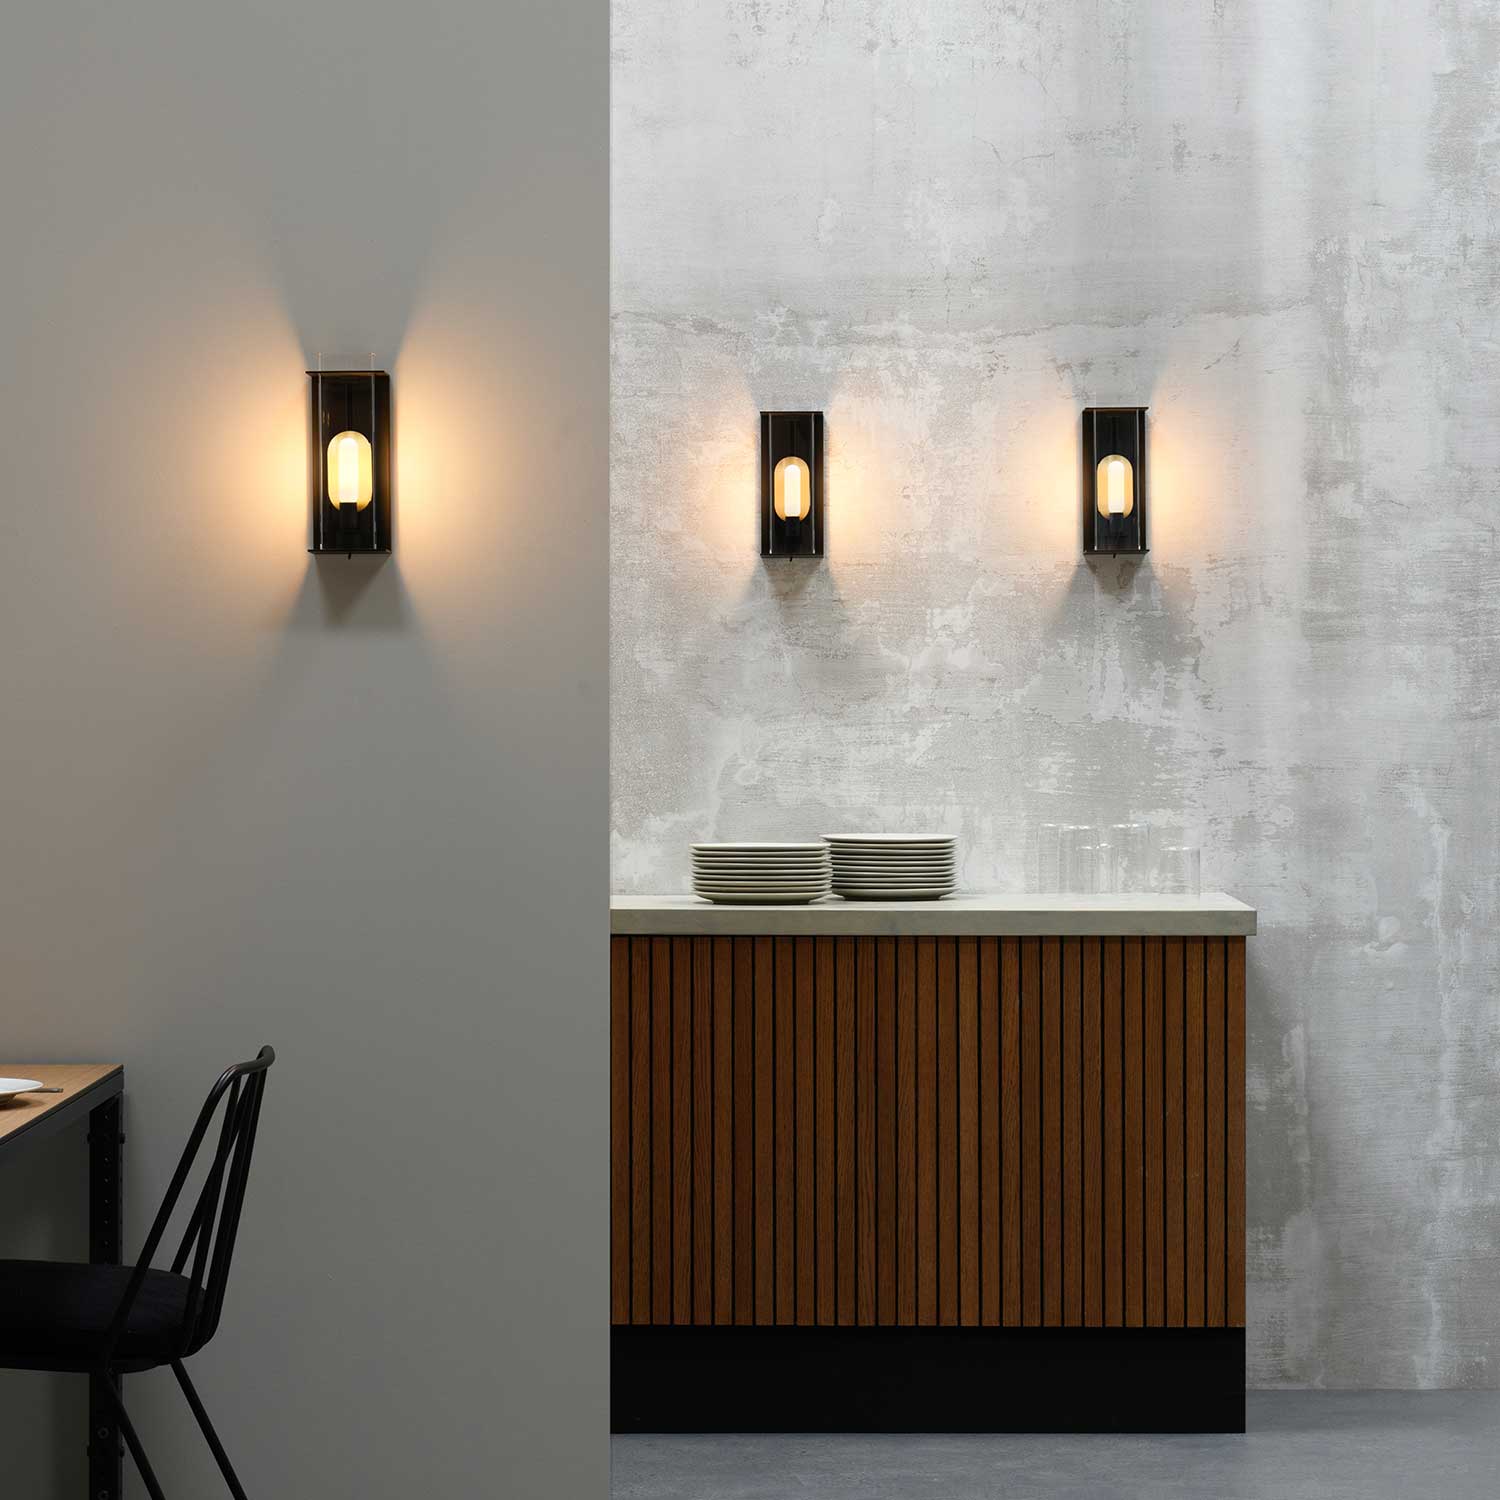
Living room: install recessed spotlights above relaxation areas (sofa, bookshelf) for ambient light, and combine with decorative lighting like wall sconces.
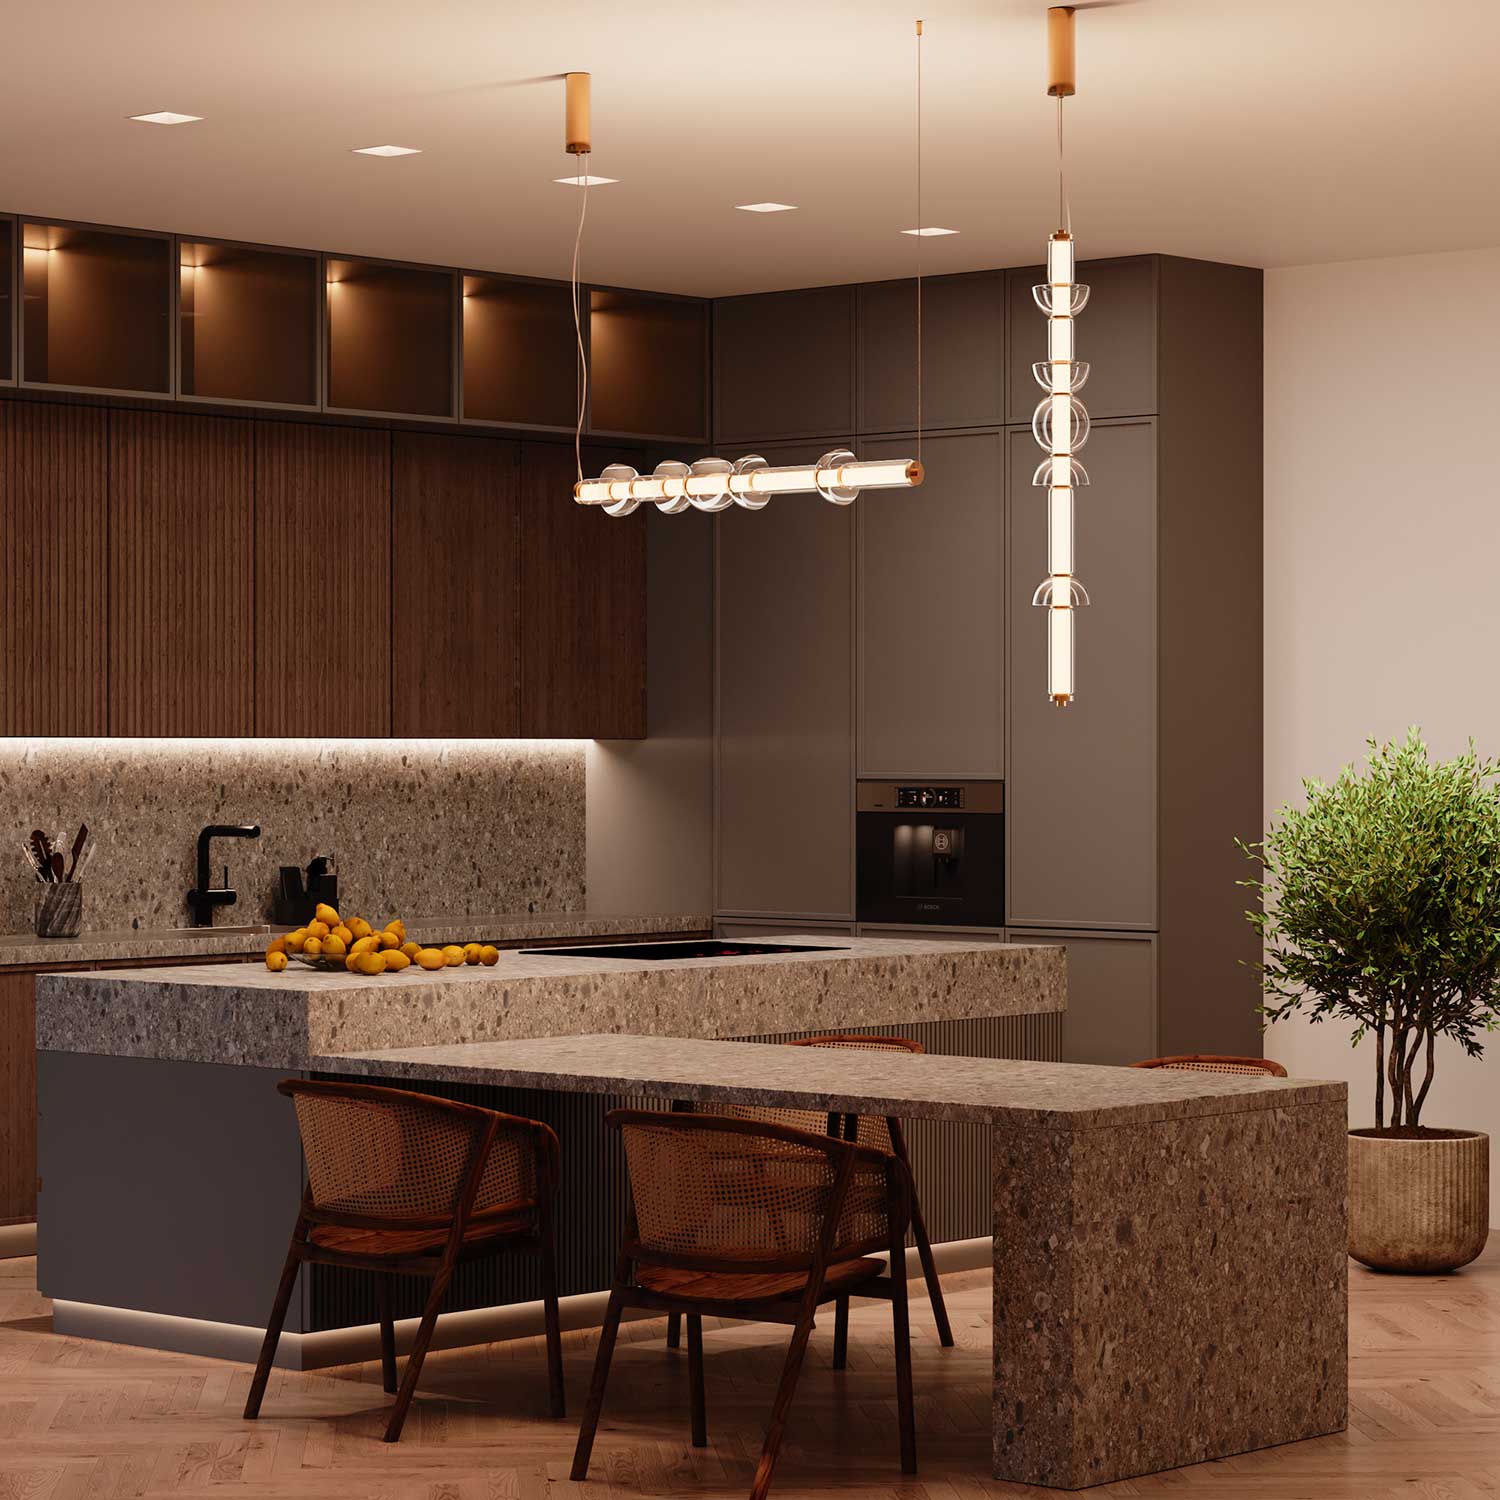
Kitchen: favor functional lighting, especially under upper cabinets and above worktops. Cold light LED bulbs are ideal for better visibility.
Bathroom: strictly respect safety distances from water points. Choose halogen or LED IP65 spotlights in the shower and IP44 above the sink, combining safety and aesthetics.
Add a recessed spotlight after installation: how to do it?
Sometimes you want to add a light point after the initial installation, especially to fix a lighting shortage or reinforce certain areas. Fortunately, it is possible to add a recessed spotlight without redoing everything, provided you proceed methodically.
First, check there is enough space in the ceiling to accommodate a new spotlight without damaging existing cables. Use a metal detector or inspection camera if needed. Also ensure the ceiling can support a new cut in the right place.

For connection, two main options are available:
- Branching: connect to an existing spotlight to power the new one, respecting electrical standards.
- Parallel: each spotlight is powered separately from the main circuit, offering better voltage stability.
Don’t forget to check the maximum power supported by the circuit breaker. Adding too many recessed LED spotlights on the same circuit risks overload. When in doubt, call a professional electrician for a compliant and safe installation.
3 common mistakes to avoid when installing recessed spotlights
Installing ceiling spotlights may seem simple, but some common mistakes can compromise the aesthetic result, safety, or lighting performance. Here are three pitfalls to avoid.
- The first mistake is neglecting ventilation. Even though recessed LED spotlights emit less heat than halogen ones, they need enough space behind to avoid overheating. Poor ventilation can reduce fixture lifespan and create electrical risks.
- Second common mistake: installing an incompatible dimmer. Not all LED bulbs are dimmable. Using a standard dimmer with incompatible spotlights can cause flickering, noise, or damage the system. It is essential to check equipment compatibility before installation.
- Finally, the last and most dangerous mistake: forgetting to cut the power. Before any network work, always turn off power at the electrical panel. A simple voltage tester check allows working safely.
Installing recessed spotlights means choosing functional, discreet, and modern lighting capable of enhancing any interior. By following key steps from proper spacing to safe installation, you optimize both lighting performance and aesthetic result.
Whether highlighting a specific area or lighting an entire room evenly, recessed LED spotlights offer a durable, efficient, and adaptable solution. Taking time to choose spotlights suited to your space, uses, and style is an investment in quality lighting that enhances your interior long-term.
Need inspiration or high-end models? Discover our spotlight selection for an interior worthy of your projects.
Leave a comment
This site is protected by hCaptcha and the hCaptcha Privacy Policy and Terms of Service apply.